
Set Up a Flask Project
The first thing we're going to do is to create a Flask project. If you check the official documentation of Flask, you'll find a minimal application there.
But, we're not going to follow that. We are going to write an application that is more extensible and has a good base structure. If you wish, you can follow this guide to get started with Flask.
Our application will exist within a package called core. To convert a usual directory to a Python package, we just need to include an __init__.py file. So, let's create our core package first.
$ mkdir coreAfter that, let's create the __init__.py file inside the core directory:
$ cd core
$ touch __init__.py
$ cd ..
In the root directory of the project, create a file called config.py. We'll store the configurations for the project in this file. Within the file, add the following content:
from decouple import config


class Config(object):
    SECRET_KEY = config('SECRET_KEY', default='guess-me')
    DEBUG = False
    TESTING = False
    CSRF_ENABLED = True


class ProductionConfig(Config):
    DEBUG = False
    MAIL_DEBUG = False


class StagingConfig(Config):
    DEVELOPMENT = True
    DEBUG = True


class DevelopmentConfig(Config):
    DEVELOPMENT = True
    DEBUG = True


class TestingConfig(Config):
    TESTING = True
In the above script, we have created a Config class and defined various attributes inside that. Also, we have created different child classes (as per different stages of development) that inherit the Config class.
Notice that we have the SECRET_KEY set to an environment variable named SECRET_KEY. Create a file named .env in the root directory and add the following content there:
APP_SETTINGS=config.DevelopmentConfig
SECRET_KEY=gufldksfjsdf
Apart from SECRET_KEY, we have APP_SETTINGS that refers to one of the classes we created in the config.py file. We set it to the current stage of the project.
Now, we can add the following content in the __init__.py file:
from flask import Flask
from decouple import config
from flask_restx import Api

app = Flask(__name__)
app.config.from_object(config("APP_SETTINGS"))
api = Api(
    app,
    version='1.0',
    title='Horoscope API',
    description='Get horoscope data easily using the below APIs',
    license='MIT',
    contact='Ashutosh Krishna',
    contact_url='https://ashutoshkrris.tk',
    contact_email='contact@ashutoshkrris.tk',
    doc='/',
    prefix='/api/v1'
)
In the above Python script, we are first importing the Flask class from the Flask module that we have installed. Next, we're creating an object app of class Flask. We use the __name__ argument to indicate the app's module or package, so that Flask knows where to find other files such as templates.
Next we are setting the app configurations to the APP_SETTINGS according to the variable in the .env file.
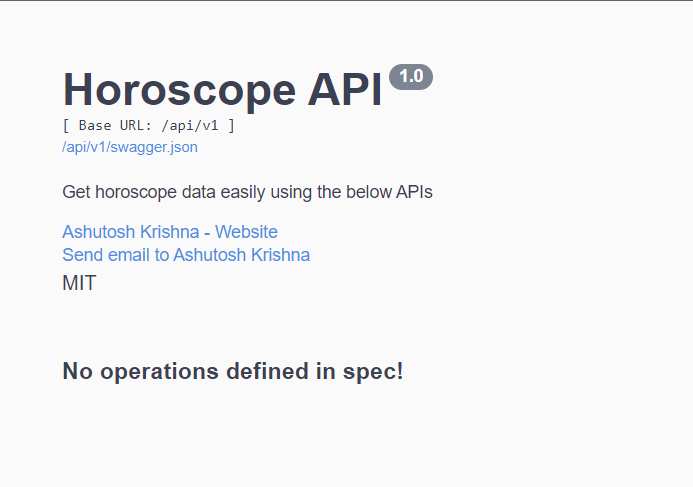
Apart from that, we have created an object of the Api class. We need to pass various arguments to it. We can find the Swagger documentation on the / route. The /api/v1 will be prefixed on each API route.
For now, let's create a routes.py file in the core package and just add the following namespace:
from core import api
from flask import jsonify

ns = api.namespace('/', description='Horoscope APIs')
We need to import the routes in the __init__.py file:
from flask import Flask
from decouple import config
from flask_restx import Api

app = Flask(__name__)
app.config.from_object(config("APP_SETTINGS"))
api = Api(
    app,
    version='1.0',
    title='Horoscope API',
    description='Get horoscope data easily using the below APIs',
    license='MIT',
    contact='Ashutosh Krishna',
    contact_url='https://ashutoshkrris.tk',
    contact_email='contact@ashutoshkrris.tk',
    doc='/',
    prefix='/api/v1'
)

from core import routes			# Add this line
We're now just left with one file which will help us run the Flask server:
from core import app

if __name__ == '__main__':
    app.run()
Once you run this file using the python main.py command, you'll see a similar output:
Now, we are ready to scrape the data from the Horoscope website.
5